Skip to content
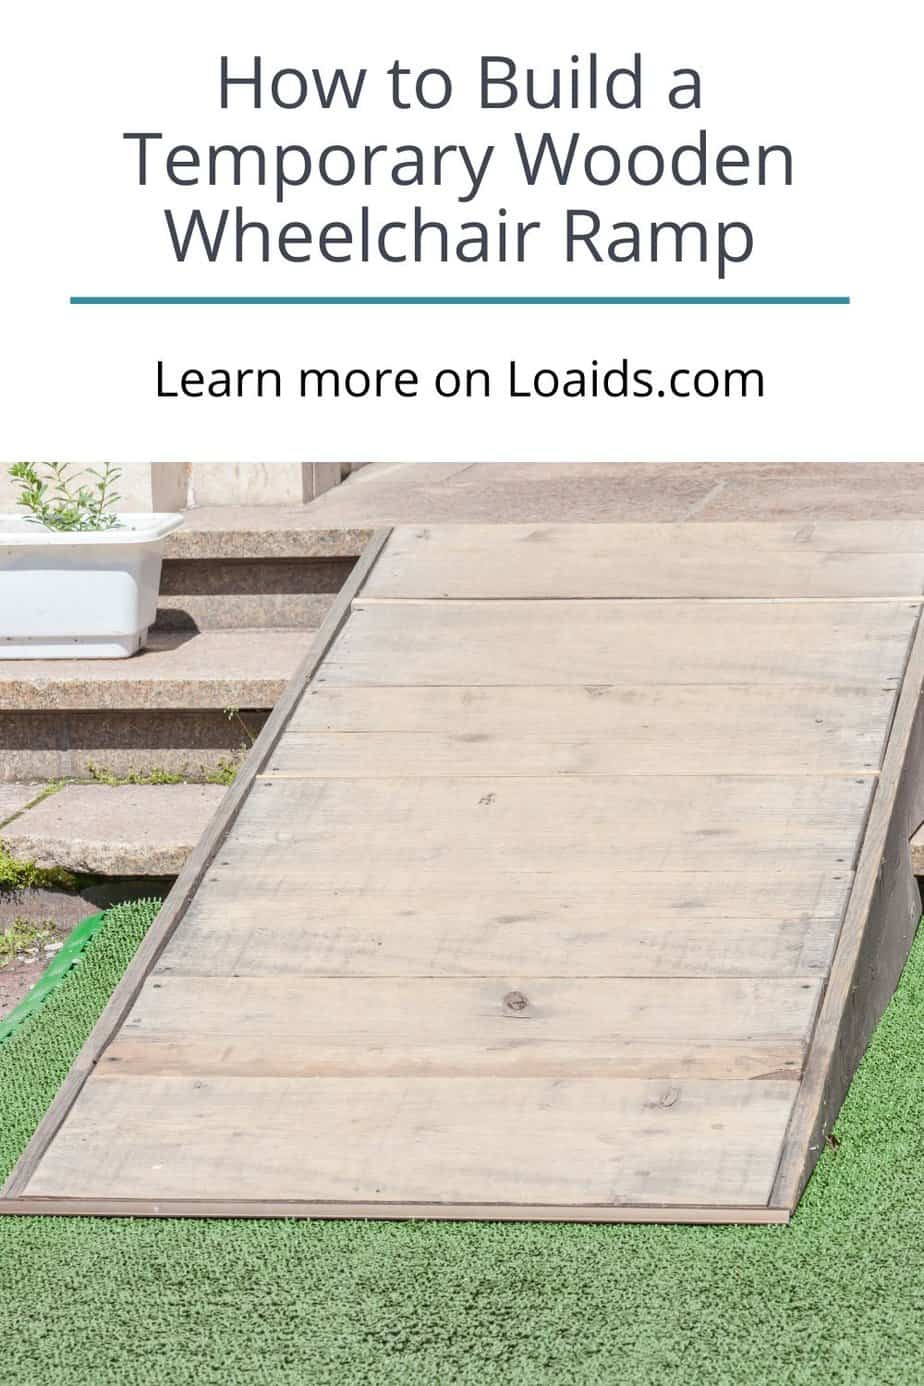
Have you been wondering how to build a temporary wooden wheelchair ramp?
You’re not alone because my father was involved in a road accident, leaving him with leg injuries, and we had to ease mobility into and out of the house.
Because his injury was a quick recovery condition, our solution was a temporary ramp rather than a permanent ramp.
I consulted a local contractor to learn how we could build a temporary wooden access ramp, and here is what I learned.
Table of Contents
Key Takeaways:
- Temporary wooden ramps are ideal for solving non-permanent medical conditions.
- You can make a wooden ramp or hire a specialist to save time.
- Ideally, follow the ADA regulations as well as local building codes to have a safe temporary ramp.
READ MORE: How to Build a Wheelchair Ramp Over Steps
How to Build a Temporary Wooden Wheelchair Ramp
According to the CDC, 61 million American adults live with a disability. Moreover, as the demand for ramps soars, many people need access to a portable ramp. (1)
Check out this YouTube video from Tommy Boy DIY on how to build a temporary wooden wheelchair ramp:
1. Plan Your Design
The planning stage is crucial to building a temporary wooden wheelchair ramp.
At this point, you’re laying out the ground plan to make your home wheelchair accessible.
Check the ideal slope the wooden ramp should take to ensure it is safe for users. A steep gradient will be tough to use, while a gradual one will use more materials due to length. (2)
After that, plan the ramp’s location, ideally where ground level and upper landing space are available.
You also want to ensure no large gaps between the ramp and the ground or landing, as they can affect the wheels’ smooth transition.
2. Calculate the Ramp Length
Your ideal ramp length depends on the height the ramp will cover. According to ADA, access ramps should have a 1:12 slope.
This means that for every one inch of vertical rise, you will have a 12-foot ramp length. So if your porch is 20 inches high, you will need 20 feet of ramp.
Since this measurement is significant, you can choose an L-shaped or U-shaped ramp.
Ideally, the ramp’s shape depends on the space available. Your contractor can advise you better.
3. Prepare the Ramp Materials
To create a ramp surface, you will need the following tools and items:
- 4-in x 4-in Pressure-Treated Lumber
- 2-in x 4-in Pressure-Treated Lumber
- Carriage bolts
- 2-inch nails
- Tape measure
- Wood glue
- Drill
- Liquid nails
- Plywood sheets
- Circular saw
Cut your plywood sheets to meet the ramp length you wish to build. Also, note that as a best construction practice, you need to plan for the top landing area.
This landing area will serve as a transition to and from the wheelchair ramp. The landing area will need four corner posts for stability purposes.
You will also prepare vertical posts to support the access ramp. Ideally, have the vertical supports two feet apart along the ramp run for solid stability.
4. Build the Ramp Frame
With all the ramp materials prepared, you can start assembling the parts to form your portable ramp.
Attach two or three plywood sheets using wood glue or liquid nails to form a firm wheelchair ramp floor.
At this point, also support your floor posts along the ramp run. For enhanced stability, you might have to use a post-hole digger to dig holes to place the wood joists.
5. Install the Landing and Railing
According to ADA regulations, a ramp’s landing area should have a cross slope not exceeding 1:48. (2)
You also want your level landing to have a suitable surface that will not hold stagnant water or snow.
You can screw the landing ramp segment to the joists to keep the boards intact. Additionally, you should install a hand railing on both sides of the ramp for safety.
In this video, join me as we navigate the process of acquiring wheelchair ramps for your home absolutely free:
READ MORE: How to Make a Wheelchair Ramp Non Slip
What to Consider When Building the Wooden Ramp
1. Load-Bearing Capacity
The weight of the wheelchair and its user should not exceed the ramp weight capacity because it can lead to structural damage to the ramp and safety concerns.
Most ramps can support about 300 lbs, but bariatric ramps can support 800 lbs.
2. Cost
When building a wooden ramp, you may be concerned about the cost and budget. Unlike expensive steel ramps, wooden ramps are easy to set up and less costly.
3. Installation
You can opt for a professional to install a ramp or do it yourself. The latter is fun and ideal for people with experience in carpentry.
A specialist will cost you money but will save you the time and trouble of seeking building permits.
On the other hand, a DIY ramp will consume your time but will save you money.
Essential Ramp Dimensions to Consider
There are essential dimensions you need to consider when building a wheelchair ramp. (2)
They include:
1. Slope
As mentioned, the ideal running slope should be in a ratio of 1:12 maximum. The cross slope should not exceed 1: 48 along the accessible ramp’s length.
2. Clear Width
Your ramp should have an even width from start to finish.
The ADA regulations advise a width of 36 inches (3 feet wide) for a ramp to ensure wheelchair access for any wheelchair type.
Learn more about the wheelchair ramp standard width.
3. Rise
Run height is capped at 30 inches minimum. You can, however, have several runs on the ramp as there’s no limit.
4. Landings
Level landings should be at the bottom and top of each run.
Moreover, the intermediate landings should have a 60 by 60 inches space for easy wheelchair turning and ease of access to the ramp.
FAQs
1. What are the ideal materials to use when building a ramp?
The ideal materials should have a non-slip surface suitable for wet and dry conditions.
2. What’s the recommended wheelchair ramp slope?
ADA recommends the ramp slope to be 1:12, meaning that you need a ramp length of 12 inches for every inch of rise.
3. What’s the minimum landing size?
The standard landing area for a wheelchair ramp should be 60 by 60 inches in length.
This provides adequate space to allow a change of wheelchair direction without the user bumping their hands on the edges.
Conclusion
The question of how to build a temporary wooden wheelchair ramp can be daunting for people looking to make an accessible entrance to their home.
However, with the proper guidance, you can make a DIY ramp or hire a ramp contractor to do the job.
Please comment below if you have ever had to improve your home’s accessibility by building a wooden ramp.